I am BEYOND excited to share this recipe with you! I have a surgery coming up and knew I’m going to want to pamper myself while in recovery. That meant that I’m going to have to prepare something relatively healthy instead of store-bought sugar & dairy rich delicacies.
I’m a huge fan of Downshiftology and a lot of my cooking in inspired by her recipes, slightly tweaked to suit my taste! So, here’s my pretty easy GLUTEN Free, Diary Free & Paleo Recipe.
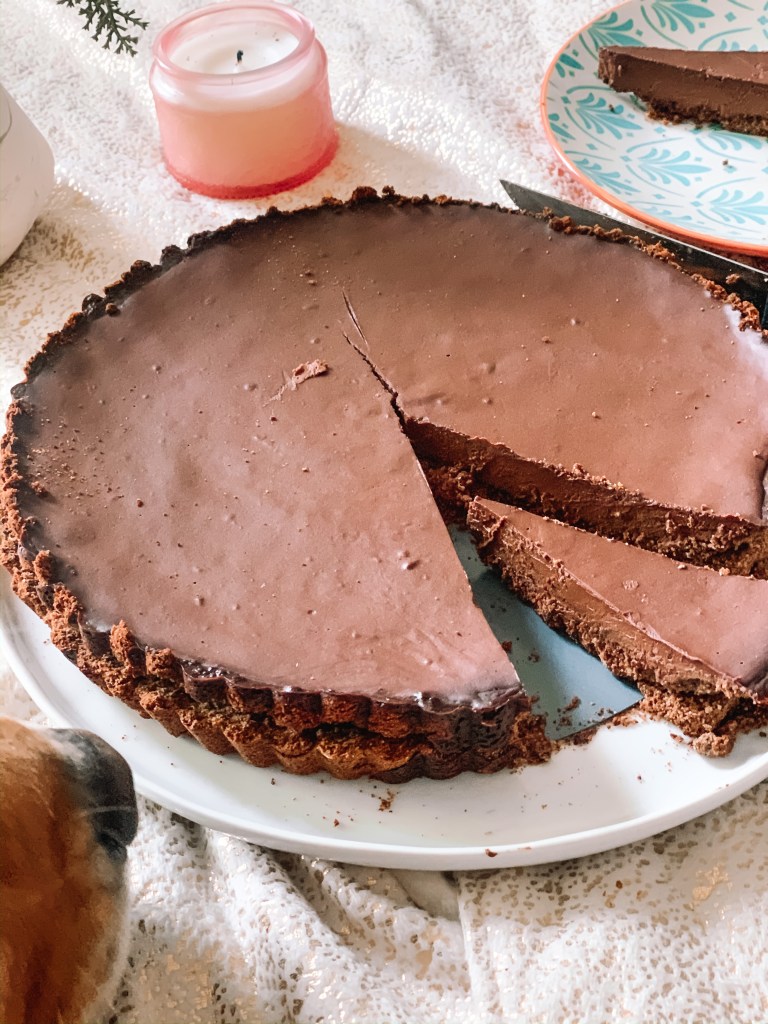
This is a 3 layered cake really – it has a crunchy outer crust, a mushy ganache core and topped off with a shiny mirror glaze – all made with Chocolate goodness!
INGREDIENTS
You’ll need a 9″ Tart Pan (with a removable base)
For the Crust:
1.5 cups of Coconut flour
3 tbsp Oil
3 tbsp of Raw Cacao
2 tbsp Maple Syrup
1 Banana
1 Egg
For the Ganache Core:
13.5 oz Almond milk (2oz of this will be used for Glaze)
11 oz Bittersweet Chocolate (2oz of this will be used for Glaze)
1 tsp Maple Syrup
1 tsp Vanilla Extract
2 Eggs
1/8 tsp salt
For the Glaze:
Set Aside from above – 2 oz Almond milk + 2 oz Bittersweet Chocolate
1 teaspoon maple syrup
1 tablespoon water
DIRECTIONS
Preheat the oven at 350 degrees F
For the Crust:
Stir all the “crust” ingredients in a mixing bowl and mix till it starts to resemble “mashed bread crumbs” type consistency.
Pour this on the pan and press down the mix into the base and up against the walls of the pan.
Place the pan in the oven and heat for 12 mins until it looks like the crust is starting to firm up.
Remove from the oven and let it cool for 15 mins on a wire rack.
For the Ganache Core:
Beat up 2 eggs.
Add the vanilla extract, 1 tsp of Maple Syrup and salt into the mix.
Keep aside.
In parallel,
Pour the milk (entire 14 oz) in a medium pot and turn up the heat. As soon as it starts to show a few bubbles (not boiling, but simmering high), turn it off.
Add the chocolate chips (entire 12 oz) into the warm milk and keep stirring until this is fully mixed and smooth.
Important: Pour ~2oz of this mixture into a small pot and keep aside. This is what we’ll use for the Glaze.
Let the larger mixture sit for 10 mins.
Once cooled, mix in the egg + syrup mixture you made above into the larger Ganache mix, in the medium pot.
Pour this mix into the Crust evenly so it spreads and fills up to the walls of the pan.
Carefully, place the pan in the oven for 25 mins (at 350 F).
You may need to place the pan on a larger wire rack and use it to carry the pan into the oven, since it’ll likely be wobbly with the ganache filling.
Once it’s baked for 25 mins, remove and keep outside for 30 mins.
At this point, the outsides should be pretty firm, while the center will still be a bit wobbly. It’ll continue to cool and get firm while it sits outside.
After its cooled at room temperature for 30 mins, place it in the refrigerator for another 30 mins.
For the Glaze:
After a total 1 hour of cooling, bring the tart pan out of the fridge.
Take the small pot you had set aside with the chocolate + milk mix and bring it to simmer. Add in the remaining Glaze components (water & maple syrup). Stir till its liquid and flowing, and take it down before it starts to form bubbles.
Pour it into the middle of the pan, and let it spread evenly across the surface.
Rotate the pan so the glaze spreads and covers the entire top.
Let it sit for 30 more mins.
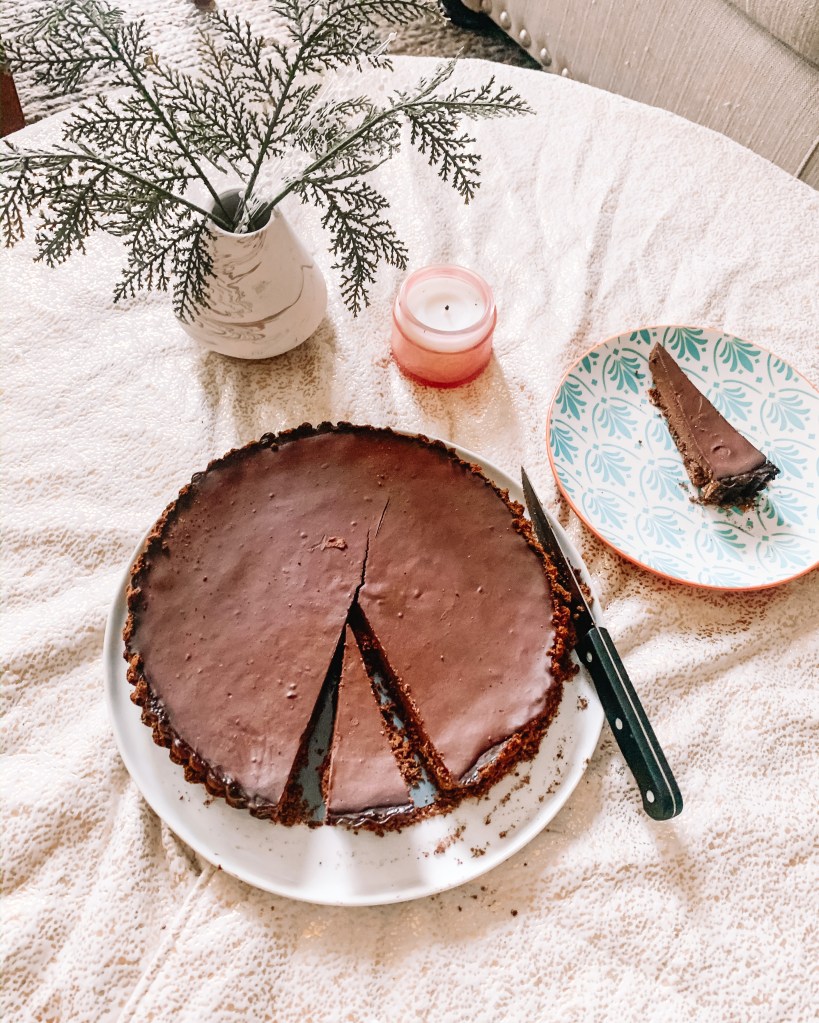
AND SERVE!
I plan to cut up the tart into 8 slices and freeze 6 of them. Cake can be frozen for upto 2 months!
So maybe, eat 1-2 slices a week and savor this for a whole month!
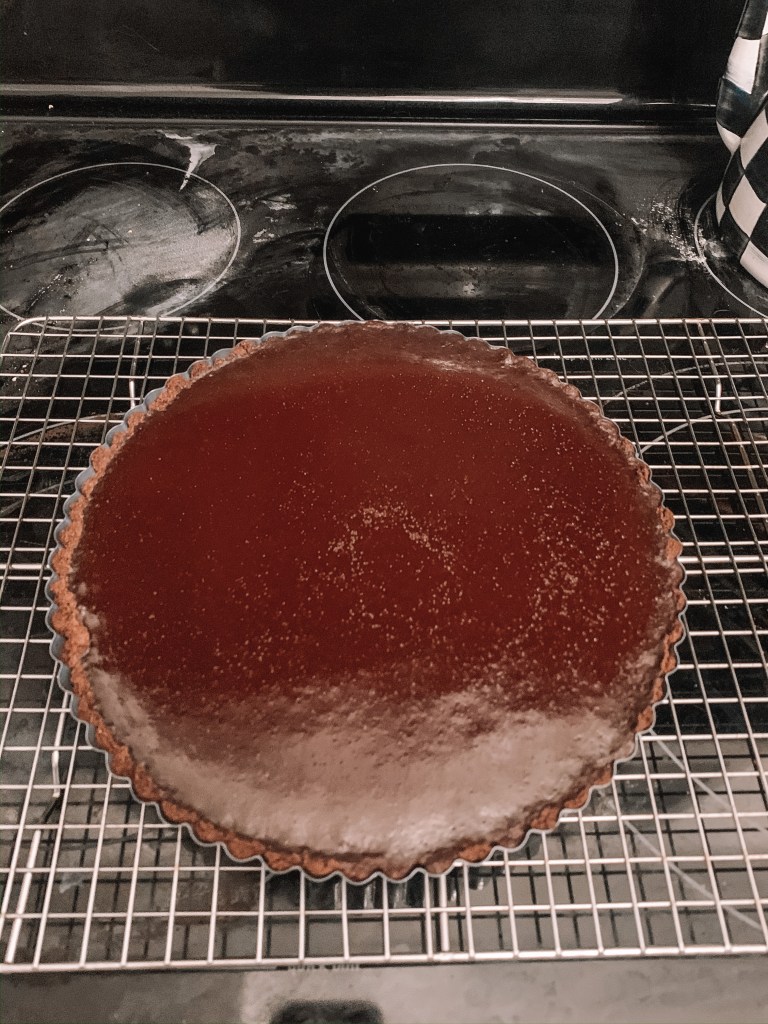

I wished I actually took the pictures before putting it in the fridge, but never mind 🙂
I cut myself a slice – and you can see the crust walls kinda broke off. My crust base & walls were super firm and I think its because I either didn’t put in enough oil to bind the mixture.
If you’re open to adding more oil as a binding agent, go for it! I decided to live with it 🙂
The Ganache filling is TO DIE FOR!
Its definitely VERY rich, you can taste it in every bite 🙂 So I actually savored this one slice for the whole day haha. Can’t wait to share it with everyone 🙂
